StatusPal
StatusPal.ioBlog
Documentation
Documentation
  • Introduction
  • Get Started
    • Key concepts
    • Step 1 - Configure services
    • Step 2 - Add your team
    • Step 3 - Personalize design
    • Step 4 - Enable notifications
    • Step 5 - Report an incident
  • Next Steps
  • FAQ
  • 1-Click Import
    • Atlassian Statuspage Importer
    • Status.io Importer (beta)
  • Platform
    • Services/components
      • Dependencies
    • Subscriptions & Notifications
      • Subscriptions
      • Notifications
      • Auto-maintenance notifications
      • Subscription Groups
      • Import email subscribers
      • Auto-subscribe to private status page
      • Custom email templates
        • Template examples
    • Incidents & Maintenance
      • Reporting an Incident
      • The Uptime Calendar Page
      • Custom Incident Types
      • Exporting your incidents
    • Information Notices
    • Private Status Page
      • Adding people to your status page
      • Access Groups/Audience Specific
    • Team Members
    • Status Page Settings & Design
      • Custom Domain
      • Advanced Settings
      • Design Customization
        • Design recipes
    • Multi-Language
    • Status Badge & Banner Widget
    • Integrations
      • Terraform
      • Datadog Metrics
      • Zoom Notifications
      • Google Analytics
      • Google Calendar
      • SendGrid Email Notifications
      • PagerDuty + Statuspal status page
      • Configure SSO for your status page with Okta
      • Configure SSO for your status page with Auth0
      • Configure your Mailgun Integration
      • Configure SMS Notifications (Twilio Integration)
      • Zabbix
      • Pingdom
      • Checkly
      • New Relic
      • Datadog
      • BetterUptime
  • Monitoring & automation
    • Out-of-the-box monitoring
    • Incident automation
    • Recurring maintenance
  • Security
    • Single Sign-On
      • Save your Recovery Codes
      • Configure Role provisioning from SAML attributes
      • Configure role provisioning for Okta
    • API Keys
Powered by GitBook
On this page
  1. Platform
  2. Integrations

Configure SSO for your status page with Auth0

PreviousConfigure SSO for your status page with OktaNextConfigure your Mailgun Integration

Last updated 4 months ago

In order to enable your team members and/or status page users to authenticate via Auth0 Single Sign-On, follow these steps:

1. Start by heading to your Statuspal organization's Security tab, enable SAML authentication, and click on New SSO settings.

2. Copy the ACS URL and Single Logout URL from your newly created SSO Setting; you'll need them in the next steps.

3. Head over to Auth0, click on Applications, select Applications, then click on Create Application.

4. In the new modal window, enter Statuspal as the name, select Regular Web Applications, and click on Create.
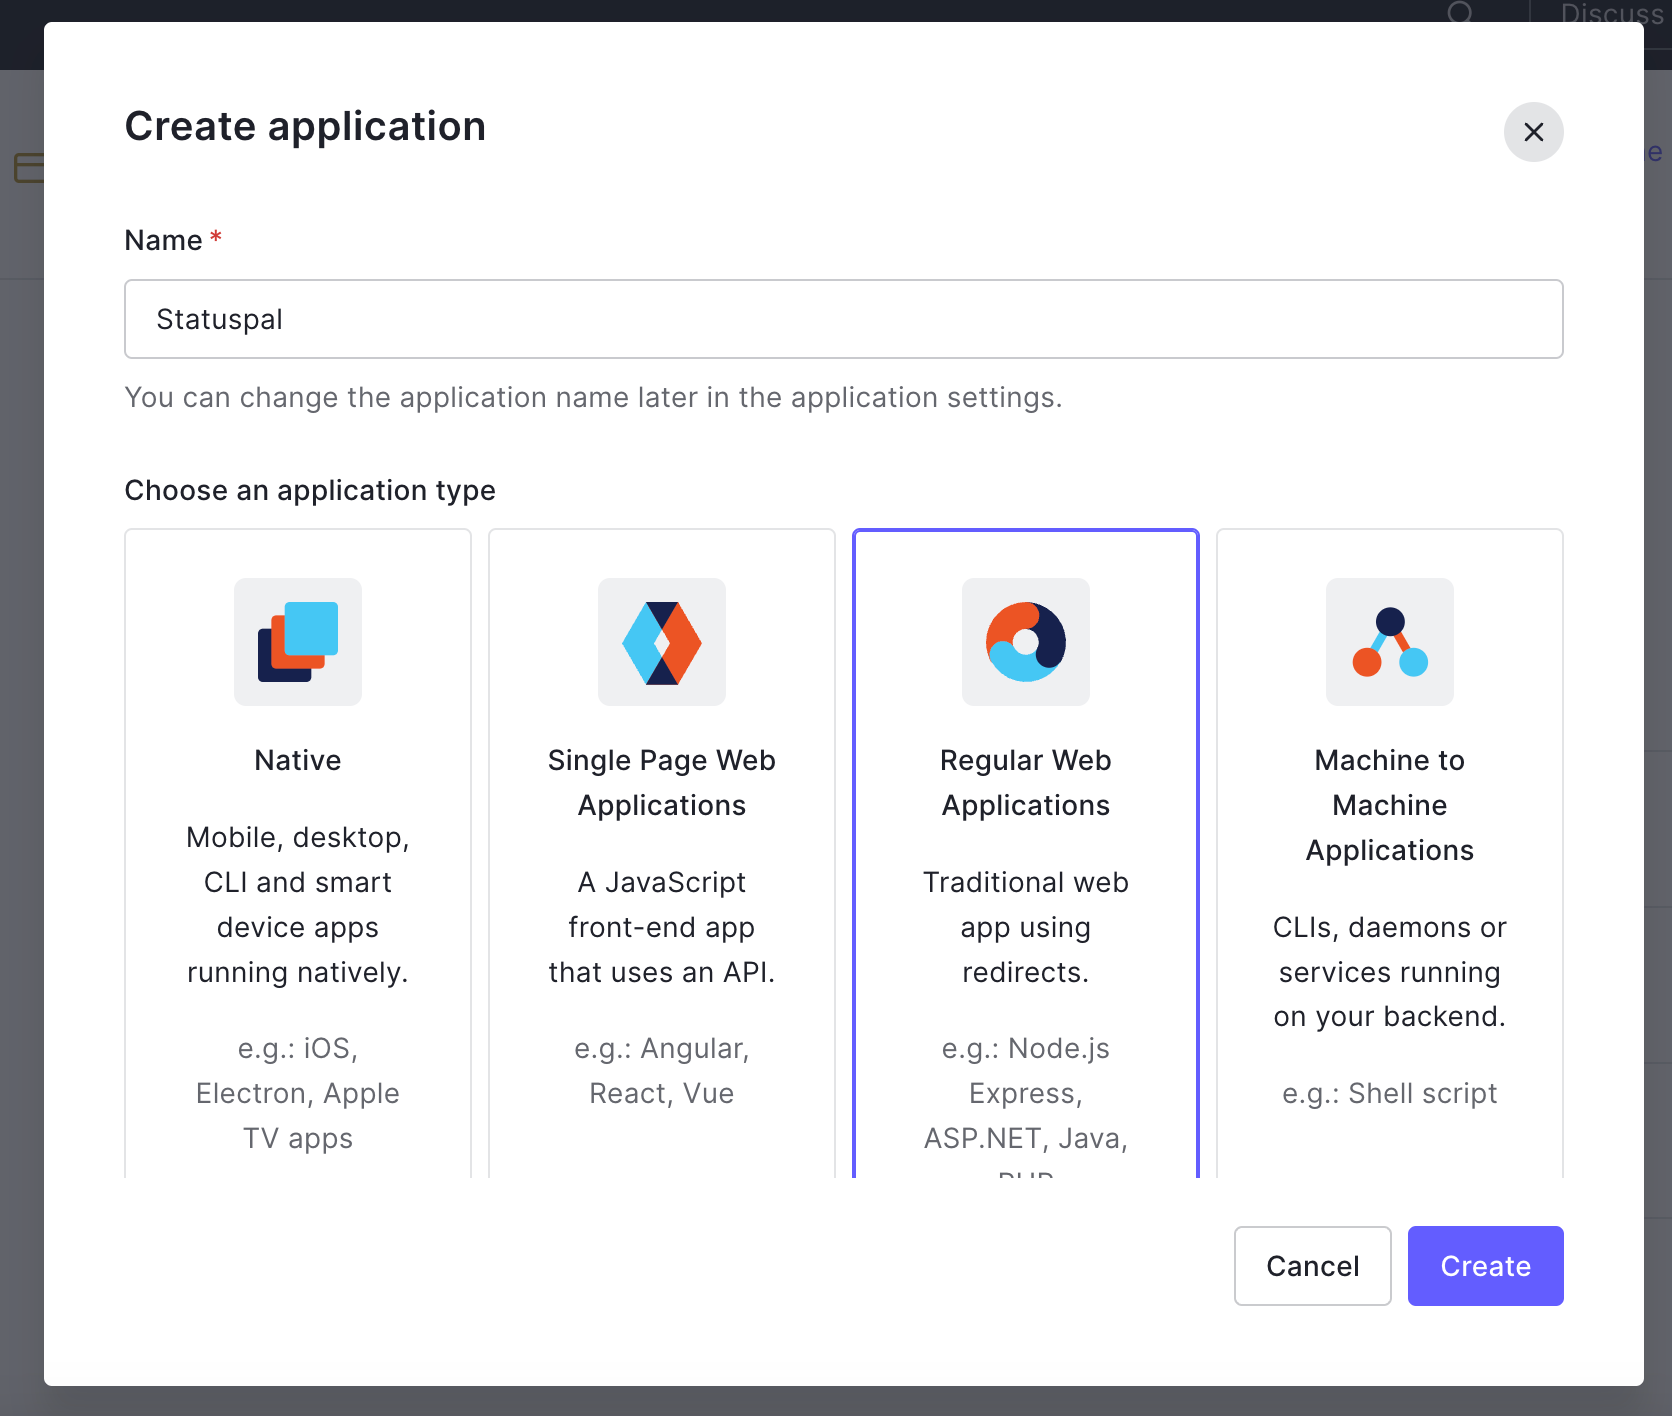
5. Now select the Addons tab and click on SAML2.

6. Under the Usage tab, click on the "Identity Provider Metadata: Download" link

7. Open the downloaded metadata text field with a plain text editor, copy its contents, and paste them onto your Statuspal SSO Settings IDP metadata field.

8. Back in Auth0, under the Settings tab of your Addon SAML2 modal window, paste your ACS URL from step 2 onto the Application Callback URL field.

9. Now, under the Settings text field, uncomment the following lines of code:

// "nameIdentifierProbes": [
//   "http://schemas.xmlsoap.org/ws/2005/05/identity/claims/nameidentifier",
//   "http://schemas.xmlsoap.org/ws/2005/05/identity/claims/emailaddress",
//   "http://schemas.xmlsoap.org/ws/2005/05/identity/claims/name"
// ],

And change them so that the line that ends with "emailaddress" is the first one on the list. It should look like this:
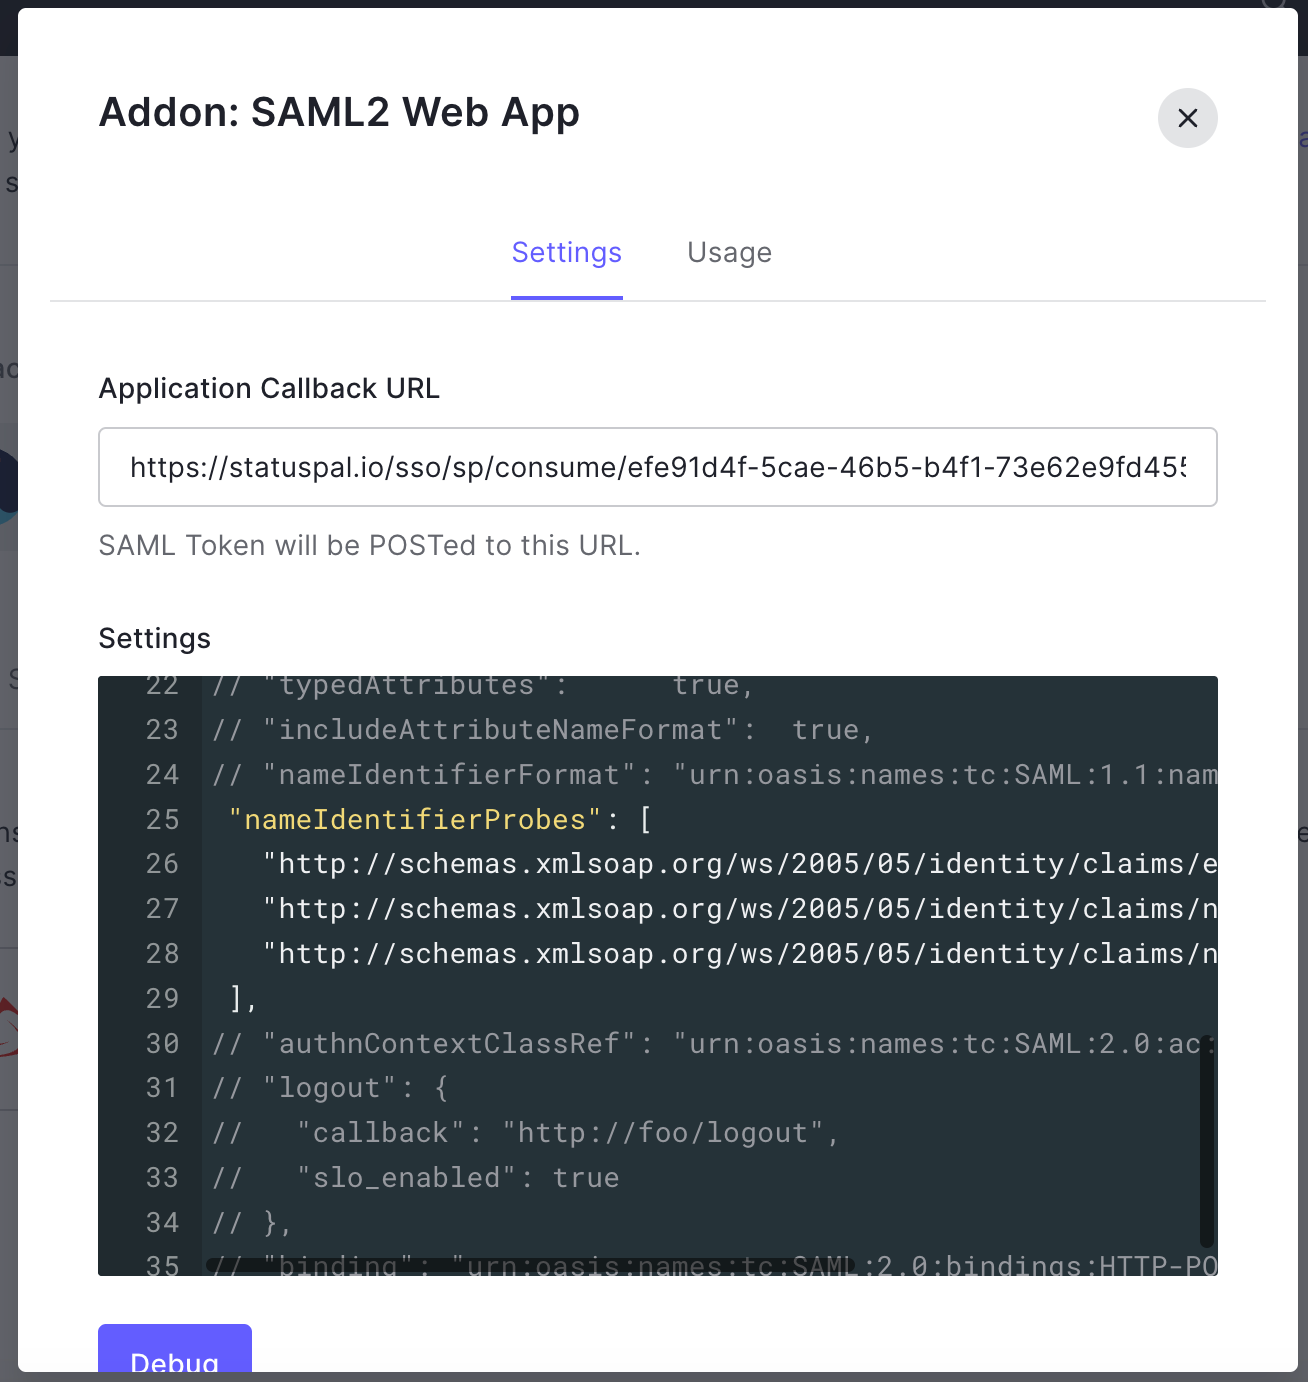
 "nameIdentifierProbes": [
   "http://schemas.xmlsoap.org/ws/2005/05/identity/claims/emailaddress",
   "http://schemas.xmlsoap.org/ws/2005/05/identity/claims/nameidentifier",
   "http://schemas.xmlsoap.org/ws/2005/05/identity/claims/name"
 ],
  1. Under the same Settings text field, uncomment the following lines:

// "logout": {
//   "callback": "http://foo/logout",
//   "slo_enabled": true
// }

And replace the placeholder callback with the Single Logout URL you copied before. It should look like this:

"logout": {
  "callback": "https://statuspal.io/sso/logout",
  "slo_enabled": true
}

11. Now scroll down and click on Enable.

12. Back in your Statuspal SSO setting, to make sure the configuration worked, click on "Test SAML Configuration" and authenticate with the same email address from your current StatusPal account. After a successful test, you should see a success message like this:

12. You should now be able to check the Require SSO checkbox to enforce SSO to your team members.